
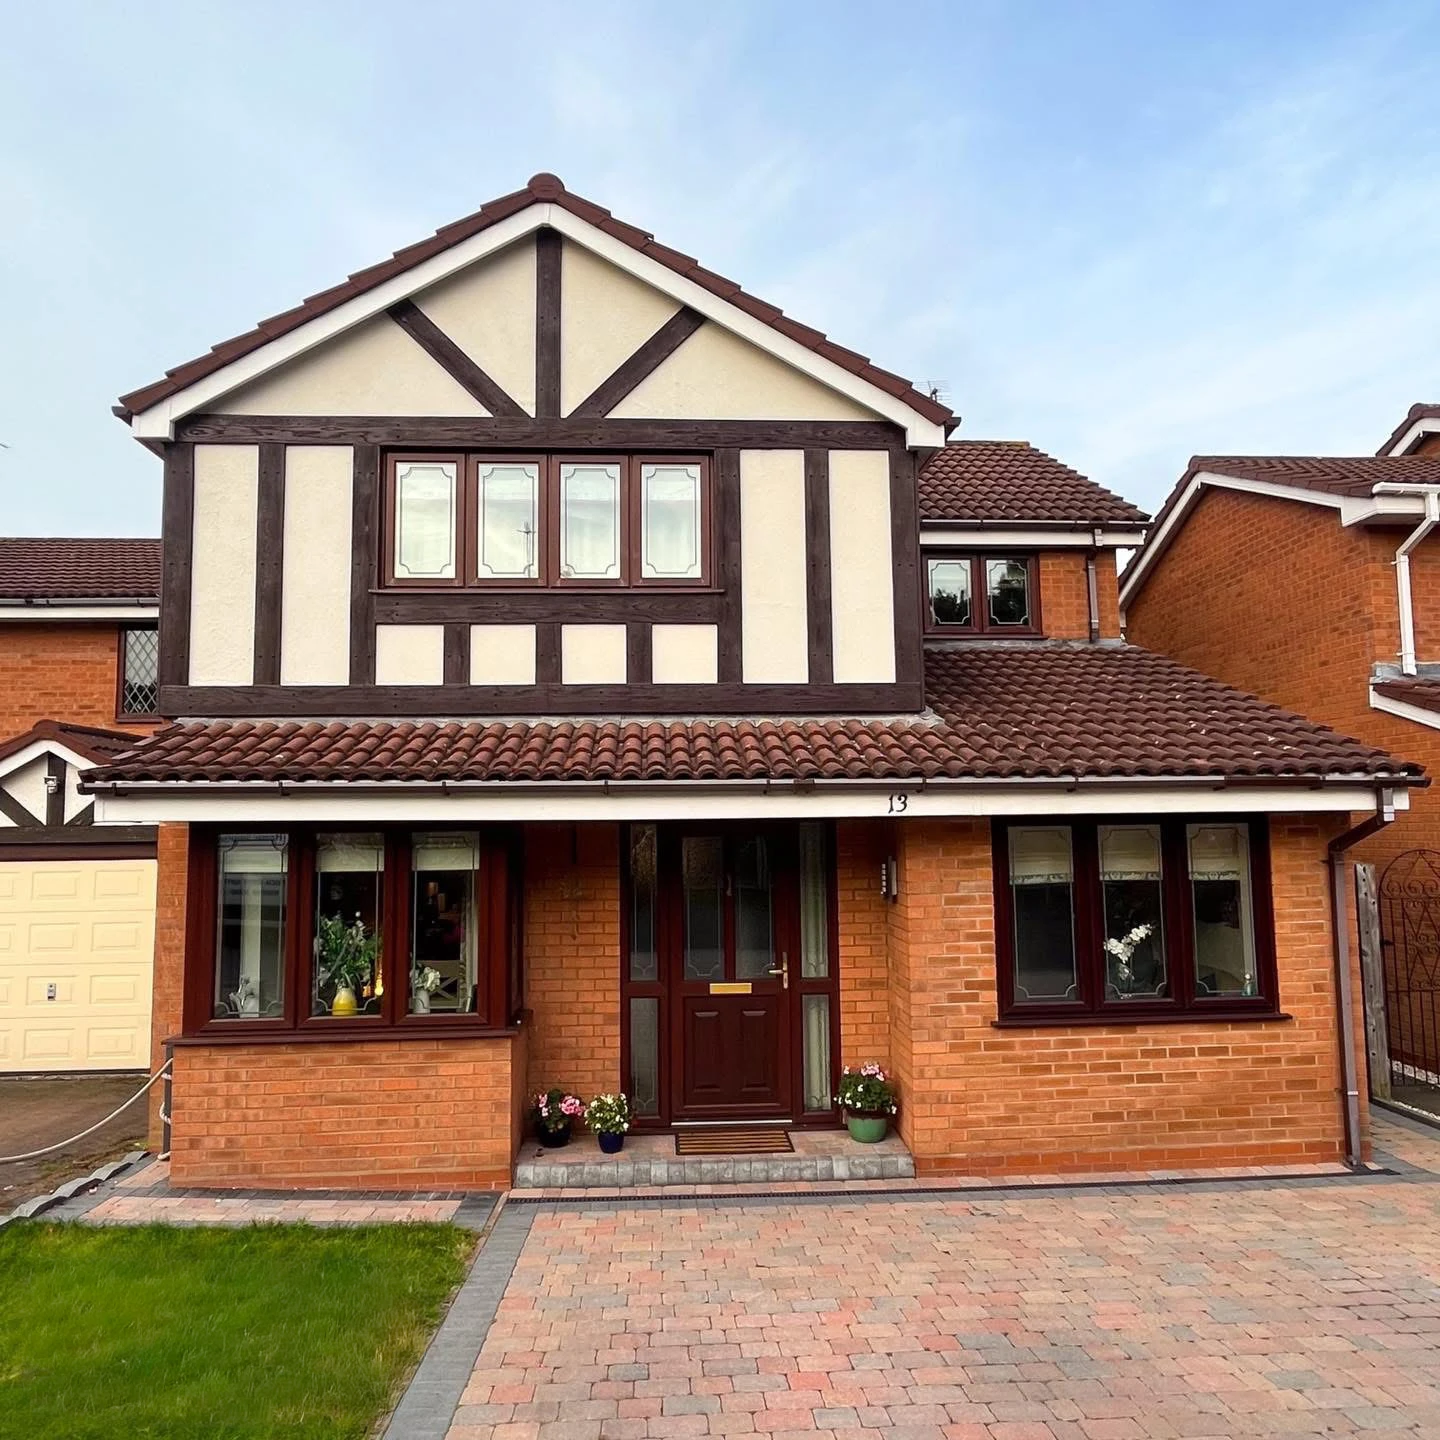
GARAGE CONVERSION · COMPLETED INSTALLATION
Garage Conversion in Malvern
A garage transformed into useful living space in Malvern. Follow the project from the original exterior and room plan through the building work to the finished bedroom, shower room and distinctive mock Tudor frontage.
See the before & after- Location
- Malvern, Worcestershire
- Service
- Garage Conversion
- Project
- New rooms within an existing garage
- Status
- Completed Installation
THE PROJECT
From garage shell to finished rooms.
The brief
Make the existing garage footprint useful as living accommodation.
The work
The project included a room plan, drainage, brick frontage, windows, partitions, insulation, plastering and finished bedroom and shower room.
The detail
The photographs follow the build stage by stage, from the empty interior to the furnished rooms and mock Tudor frontage.
BEFORE & AFTER
A new face for the building.
Drag the divider to compare the original garage with the completed frontage.
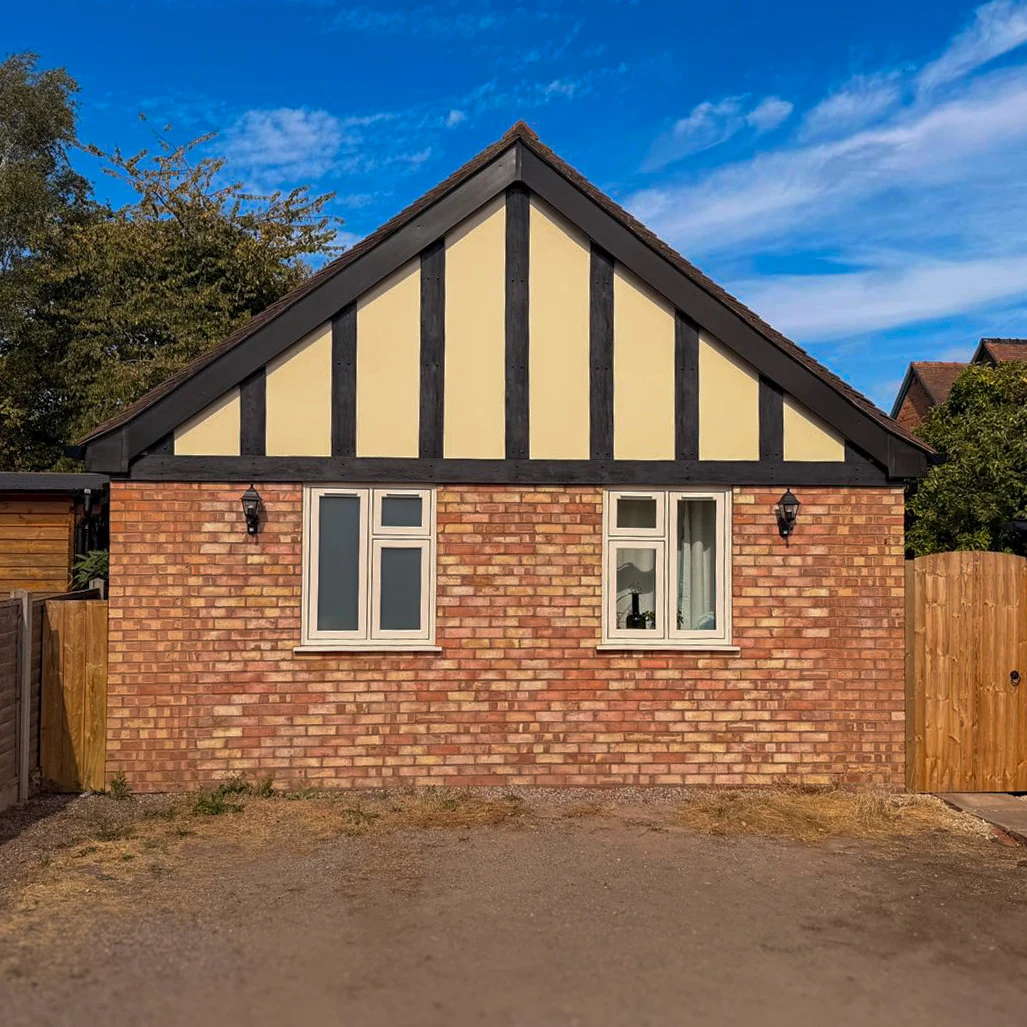
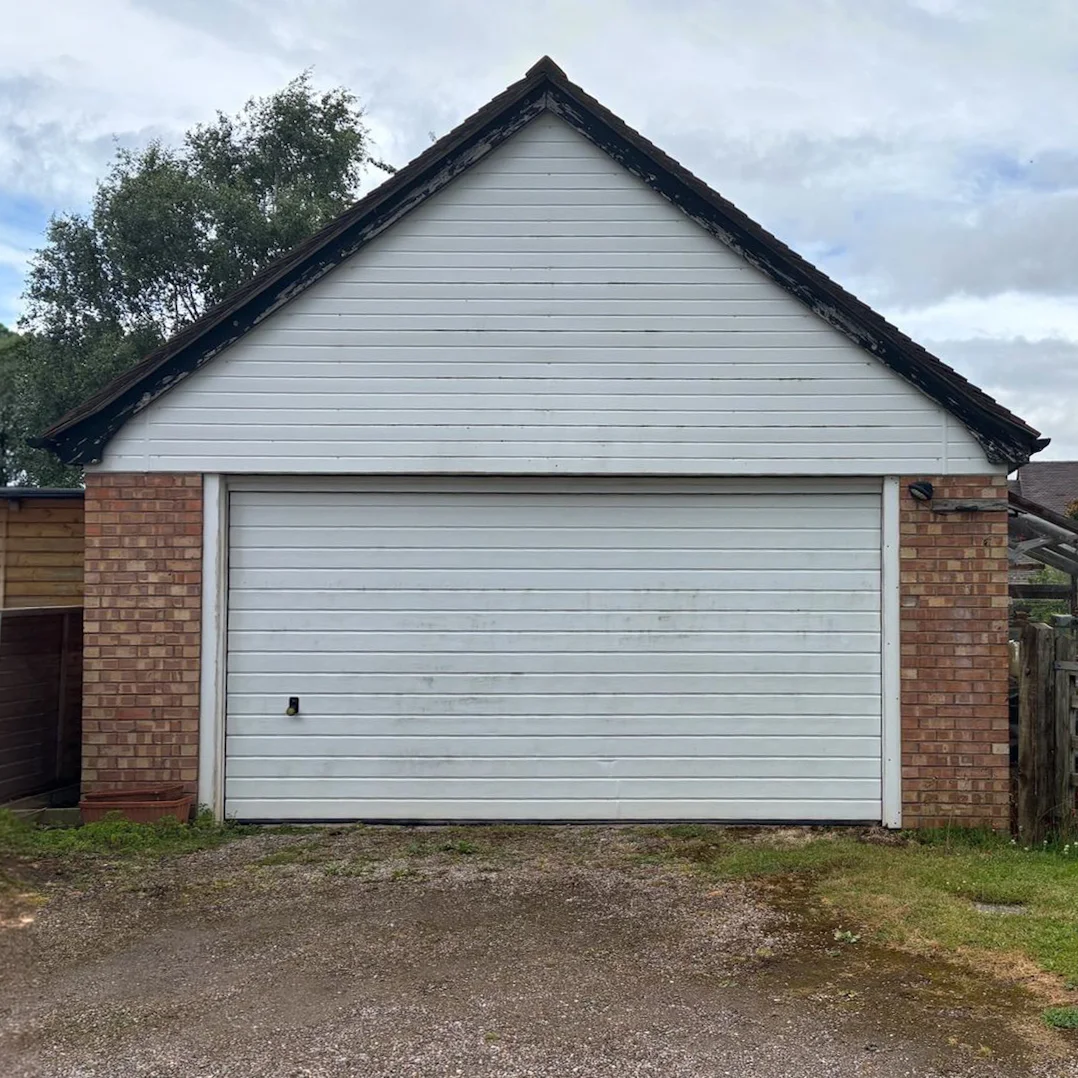 BeforeAfter
THE PROJECT JOURNEY
Every stage, from plan to finish.
Explore the room plan and progress photographs. Select any image to see it in more detail.
THE ORIGINAL SPACE
A garage ready for a new purpose.
The original garage had a wide white door, exposed brick walls and an unfinished interior. The starting photographs show the scale of the transformation: a practical garage shell that would be divided and finished for everyday living.
Inside the garage before the conversion work. THE ROOM PLAN
Making the available space work harder.
The room plan sets out a living area, bedroom and shower room, with door openings and socket positions marked. It shows how the rooms relate to one another and how the available footprint can be organised around different daily needs. The finished bedroom and shower room are pictured at the end of the journey.
The room layout, including circulation between spaces and proposed socket positions. Select the image to enlarge. DRAINAGE & BRICKWORK
Preparing the services. Transforming the frontage.
The progress photographs record the drainage pipework and inspection chambers being installed, followed by the new brick frontage with two window openings. Replacing the broad garage-door opening changes the proportions of the elevation and starts to give the building the appearance of living accommodation.
Drainage installation in progress. Brick infill and the new window openings taking shape. INSULATION & STUD WALLS
The layout becomes visible.
Inside, timber stud partitions define the new rooms and doorways. Foil-faced insulation is visible around the external walls, while the ceiling structure remains exposed at this stage. These photographs capture the work that will later sit behind the finished surfaces.
Stud walls form the room divisions, with wall insulation in place. PLASTERING
From exposed framing to defined rooms.
Once the walls and ceilings are plastered, the internal layout is much easier to appreciate. Clean doorway openings and continuous wall surfaces replace the exposed framing. Lighting cables remain visible ahead of the final fittings, with decoration, flooring and joinery still to complete the space.
Plastered rooms ready for the next finishing stages. THE FINISHED INTERIOR
Comfortable rooms with their own character.
The completed bedroom brings together carpet, an oak door, a green feature wall and coordinated curtains. In the shower room, a black-framed enclosure, green vanity unit and tiled floor create a practical, considered finish. Together, the photographs show just how far the interior has come from the original garage shell.
The finished bedroom, furnished and in use. The completed shower room with coordinated fittings and finishes.
EXPLORE THE OPTIONS FOR YOUR HOME
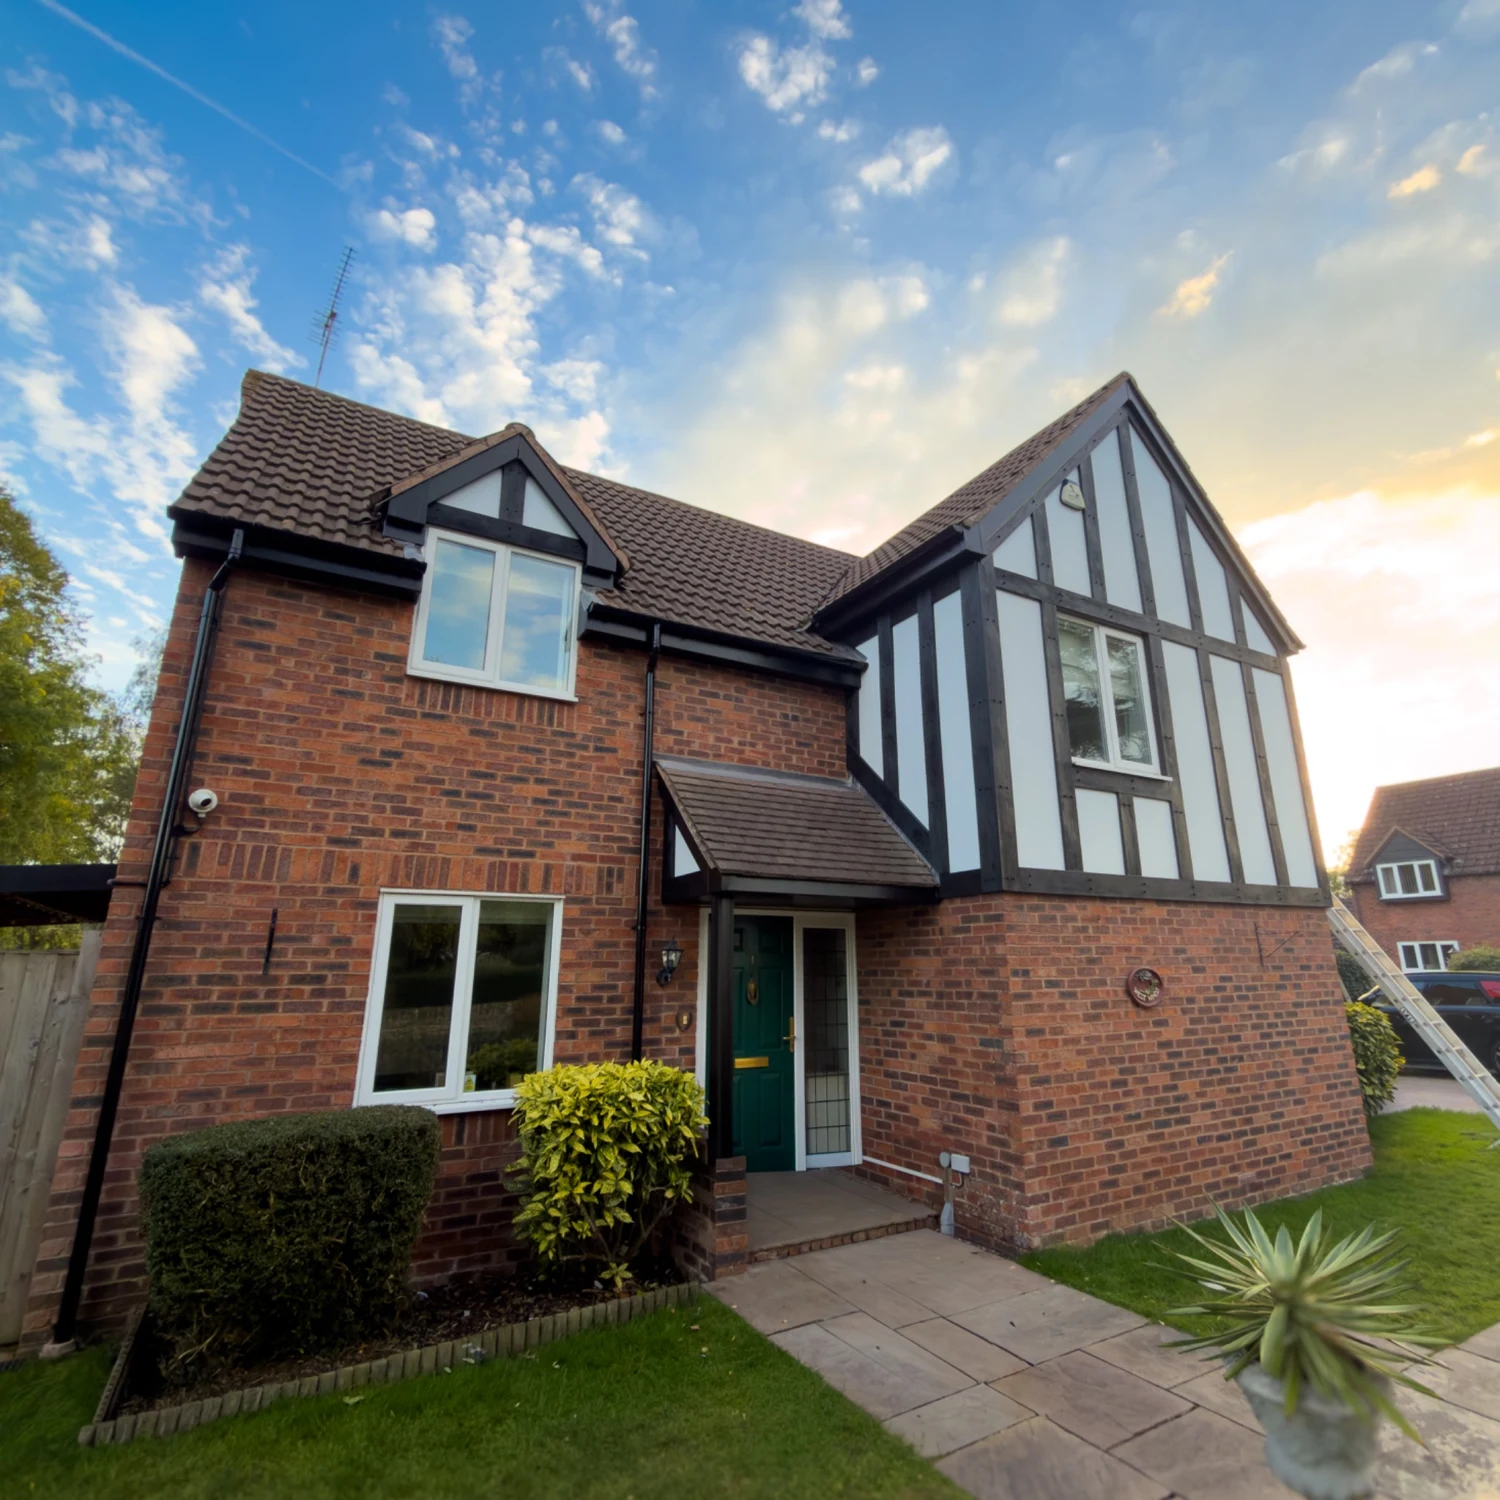
ROOFLINE & MOCK TUDOR · ROSS-ON-WYE
Roofline & Mock Tudor Transformation in Ross-on-Wye
Explore roofline & mock tudor transformation in ross-on-wyeAsk about this installation →YOUR HOME NEXT
What could your garage become?
Arrange a free home visit to explore your ideas with ERA.